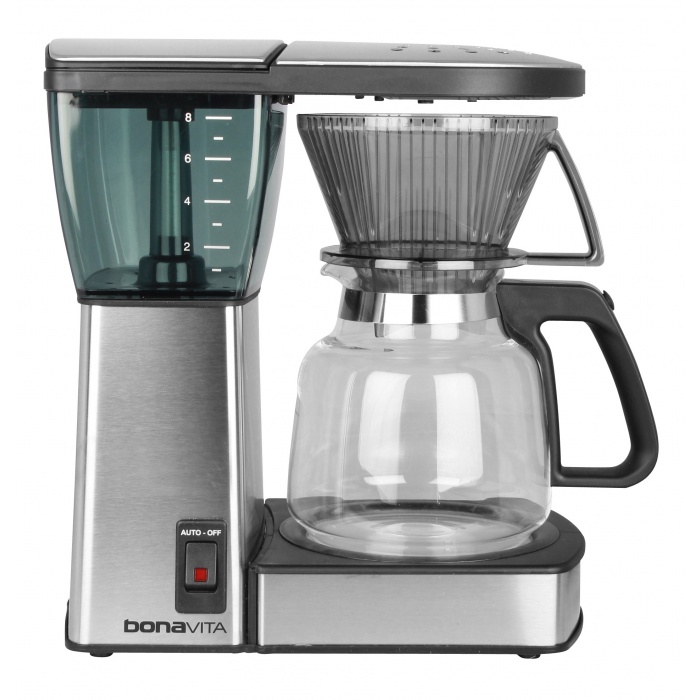
After making pot after pot of coffee, you’ll want to thoroughly clean your coffee maker. This will allow you to remove any of the build-up, and if you’ve accidently burnt your coffee, remove the burnt taste as well.
It’s always a good idea to clean your coffee maker every few weeks.
In fact, the process is simple and straightforward. Let’s take a look at the most common types of coffee makers and tips on how to clean them properly.
Water and Vinegar
Water and vinegar is the go-to cleaning method for most coffee makers, including:
- Drip models
- Moka pots
In fact, virtually all makes and models can use this method.
It’s simple and easy, just follow these steps:
- Empty out all coffee and used filters.
- Add water and vinegar to the reservoir. Use a ratio of 1 part vinegar to 2 parts water.
- Turn on your machine and let it go through a complete brewing cycle.
- Let the mixture sit for 15 minutes.
Now, dump out all of the water and vinegar, and run just plain water through two complete brewing cycles.
There are a few points of caution when using this cleaning method:
- Some people use a 50/50 mixture of water and vinegar – it’s up to you.
- If you taste the vinegar, make sure to run a full brewing cycle with just water until the taste is gone.
This is the recommended best way to clean a coffee maker or pot by baristas and even Martha Stewart.
Removable Parts
If your machine has removable parts, I recommend doing the following:
- Avoid using soap on any areas where the coffee water will touch.
- Soak parts in water and vinegar.
- Use a soft sponge or rag to clean the parts.
- Let air dry.
You never want to use harsh chemicals. Remember, all of these parts have a function, and if you spray harmful chemicals, they may end up in your coffee.
Baking Soda
Build-up on the outside of the machine or on the carafe can be easily removed with baking soda. This is a great trick if you’re experiencing a stale coffee taste and you don’t know why. Simply sprinkle some baking soda and clean with a soft sponge.
As always, when you’re done, make sure you rinse multiple times with water.
Table Salt, Ice and Lemon
An old trick that many baristas use when coffee is burnt is to add:
- Table salt
- Ice
- Lemons (squeezed)
All of this is added into the actual reservoir that holds the coffee and swished around. Once you’ve swished the mixture around for a few minutes, clean with water.
The idea is that the salt works as an abrasive, and the lemon is able to help clean the inside surface. It’s a great trick that works extremely well. Just don’t try putting your coffee maker on at this time.
A clean coffee maker will produce delicious tasting coffee each and every time. Always clean your model every 2 – 4 weeks for best results. If any of the cleaning tips above produce an awkward coffee taste after brewing, make sure to rinse the model thoroughly with water, and even run a few brewing cycles with just water – no coffee grinds.


